 As a high school math teacher, keeping track of calculators on an hourly basis in a classroom filled with 30 busy people and 54 distractions per person per minute has been, quite honestly, not at the top of my priority list. Once students figure this out (students in retrospect are smarter than they appear), calculators start going missing at an astonishing rate. I often wonder if there is some sort of underground black market for school calculators ... but until I stoop low enough to start keeping an eye out on craigslist and ebay for school calculators, or start counting calculators at the beginning and end of every class, I have invented an interim solution.
Actually, the inspiration for finding a way to organize calculators merged with my recent obsession with crayon rolls ~ after making a dozen of so of these adorable little things I started dreaming of taking these to bigger and better places.


Here are the directions for how to make one of these calculator mats for your own classroom (or adapt as you see fit ~ would be great in a craft room, as shoe storage, for toys, etc.).

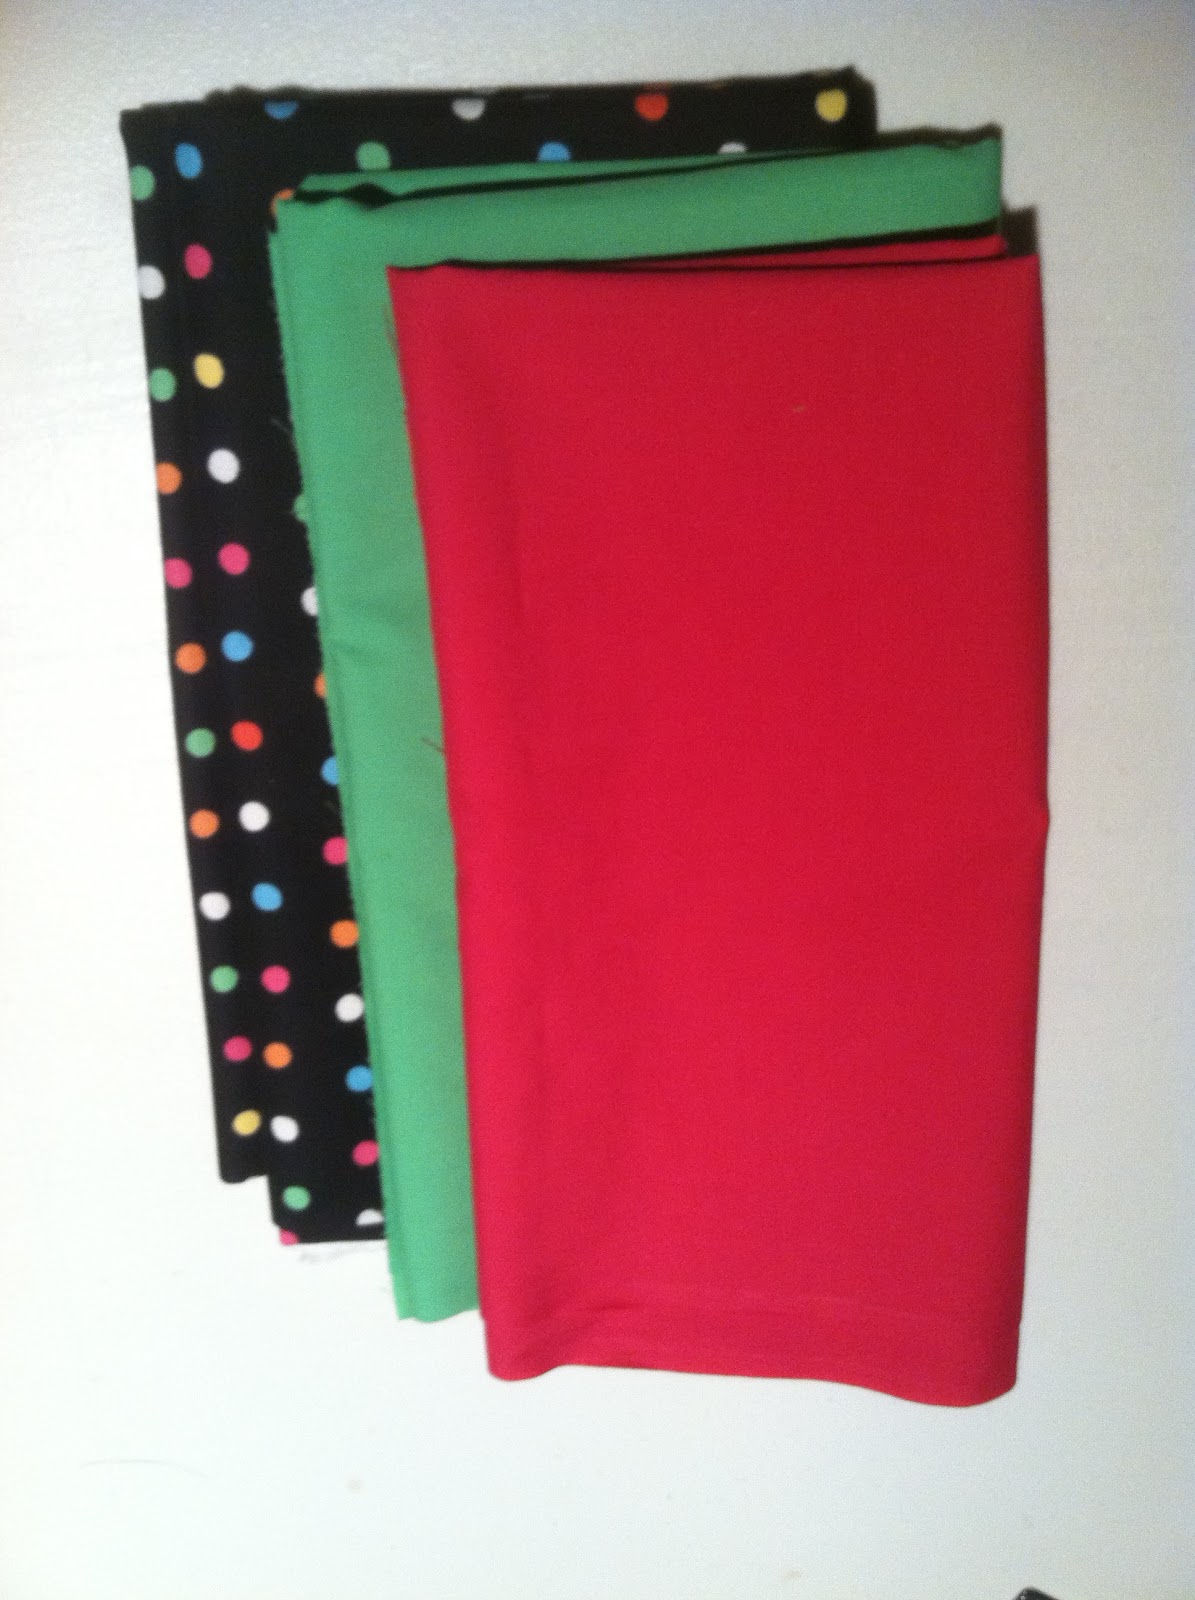
These measurements are for a wall mat that fits 30 TI30-XIIS calculators:
Large background fabric (I used printed duck so it would be strong enough and I could avoid using interfacing to strengthen it: 23.5” x 43” (cut 2 ~ or just fold the fabric in half and cut around the fold line ~ all the edges will be covered with the border, so you get to avoid sewing the edges altogether J )
Pocket strips: 23.5” x 9” (cut 6 ~ these will be folded in
half lengthwise)
Border strips: 23.5” x 4” (cut 2) and 43”x4” (cut 2) (These
will be folded 4 times lengthwise to create something like wide bias tape,
except I just cut them straight along the grain and it looked fine ~ but you
can cut along the bias if you buy more fabric J
)

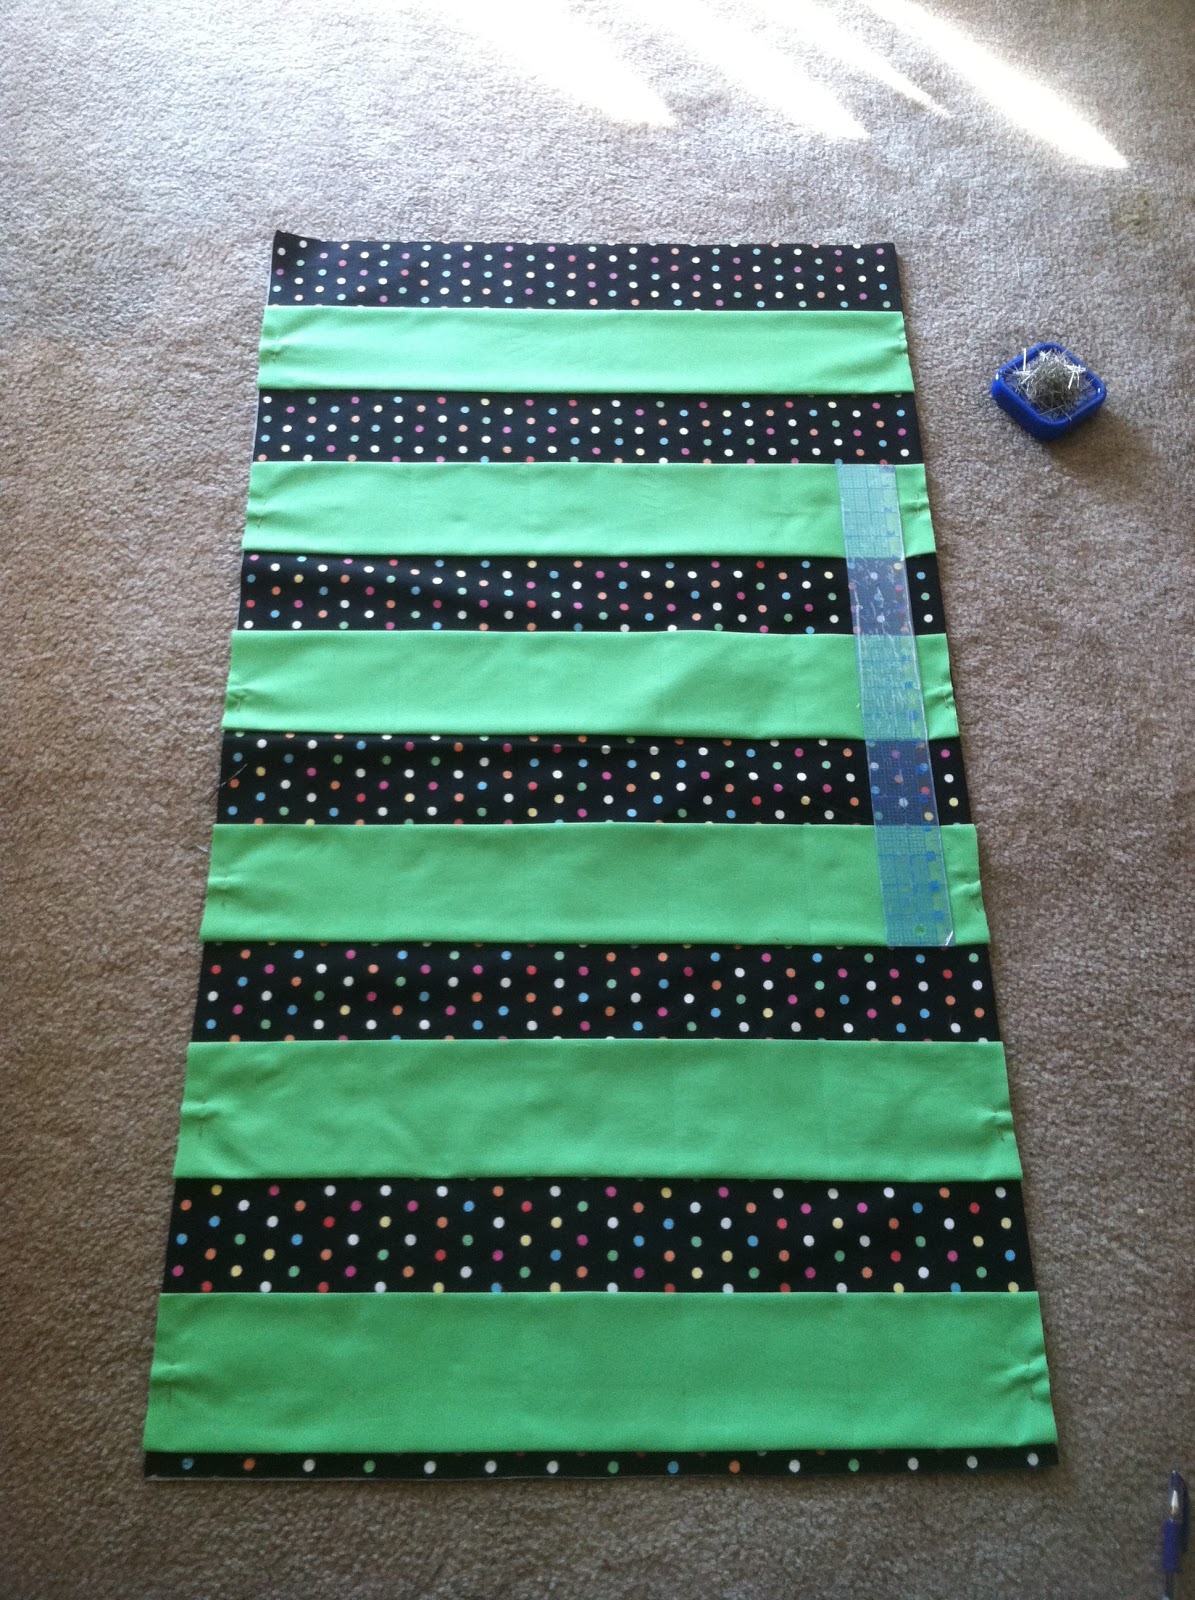 After cutting out the pieces, you will create the
pockets strips. Fold each of the 6 green pieces in half lengthwise, then fold the raw
edges over about ½” and iron the creases. Then start placing them on the
background fabric. I laid the first one about 7/8 of an inch up from the bottom
so that the border (1” wide) wouldn’t cut off valuable pocket space but would
still overlap. Then I spaced the pocket strips out 7” from the bottom of one pocket
to the bottom of the next. The fold will be the top of the pocket strip. The ½”
line you ironed in will be your guide line for sewing. Once you have them all
placed, flip the pocket strips down and pin the ½” part of the strip in place.
(See picture here if these directions don’t make sense.) You will sew along the
ironed-crease for each pocket piece, then fold them back up along the sewn line
and iron again.
After cutting out the pieces, you will create the
pockets strips. Fold each of the 6 green pieces in half lengthwise, then fold the raw
edges over about ½” and iron the creases. Then start placing them on the
background fabric. I laid the first one about 7/8 of an inch up from the bottom
so that the border (1” wide) wouldn’t cut off valuable pocket space but would
still overlap. Then I spaced the pocket strips out 7” from the bottom of one pocket
to the bottom of the next. The fold will be the top of the pocket strip. The ½”
line you ironed in will be your guide line for sewing. Once you have them all
placed, flip the pocket strips down and pin the ½” part of the strip in place.
(See picture here if these directions don’t make sense.) You will sew along the
ironed-crease for each pocket piece, then fold them back up along the sewn line
and iron again. (Note: Since I was trying to save time and effort, I didn’t
cut along the fold line. So I had to sew all the pocket pieces onto the left
half of the fabric so that the back piece wouldn’t show any of these lines. It
got pretty awkward though feeding all that material through the machine; you
might want to bite the bullet and just cut 2 separate pieces for the front and
back.)
(Note: Since I was trying to save time and effort, I didn’t
cut along the fold line. So I had to sew all the pocket pieces onto the left
half of the fabric so that the back piece wouldn’t show any of these lines. It
got pretty awkward though feeding all that material through the machine; you
might want to bite the bullet and just cut 2 separate pieces for the front and
back.)
Now to make the individual pockets: Measure carefully on the
bottom pocket strip, then you can use those marks for the rest of the strips. I
placed my big plastic ruler (18”) against the end of the fabric and marked off
1” for the width of the border, then 4.3” for each calculator pocket. You will have 5 pockets on each strip. (I like
to mark above and below the ruler at each point so that I will get trustworthy
straightness when I draw the vertical lines.) Then flip your ruler (or
yardstick) vertically and trace those markings vertically up each pocket piece,
all the way to the top. A pencil works fine, since you are going to sew over
those markings and won’t see them in the end. Now sew along those lines,
remembering to backstitch at the top and bottom of each little segment. I start
from the bottom, sew the first vertical line on the first pocket, lift my
needle and foot to feed the fabric through to the next pocket, and keep going
all the way to the top. That makes it simpler, since you only need to do 4 long
stop-and-go lines for the entire height of the fabric. (I don’t sew along the 1”
marks for the borders.)

I didn’t know what to do with the corners, so I’ll leave that
part of the tutorial up to your expertise, experience, or research. I don’t
like how mine turned out L.

That’s all! Enjoy J
Or, if you would rather not make this and would prefer to
buy one from me, just send me a message! J
and, just for fun, since I forgot to have my husband take a picture of me working on this project, I took a picture documenting what he was doing while I was working :). pretty cute, huh?